


HOW TO FIT YOUR MODERN CLOTH NAPPY
Fit Guide
When it comes to cloth nappies, knowing how to properly fit them is essential for both your baby's comfort and to prevent leaks. In this guide, we'll cover the basic steps for fitting a cloth nappy.
By following these simple steps, you can ensure your cloth nappy is fitted correctly and your baby stays comfortable and dry. Happy nappy changing!
Pixie Nappy
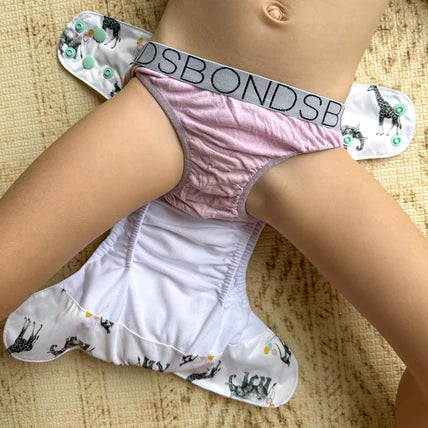
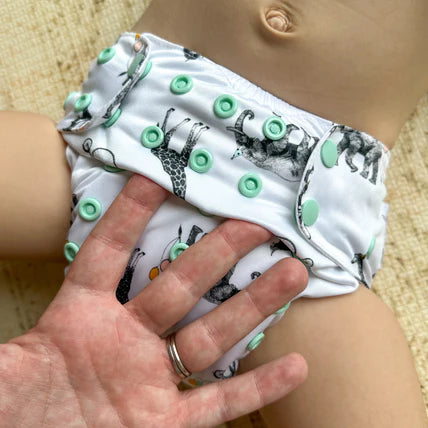
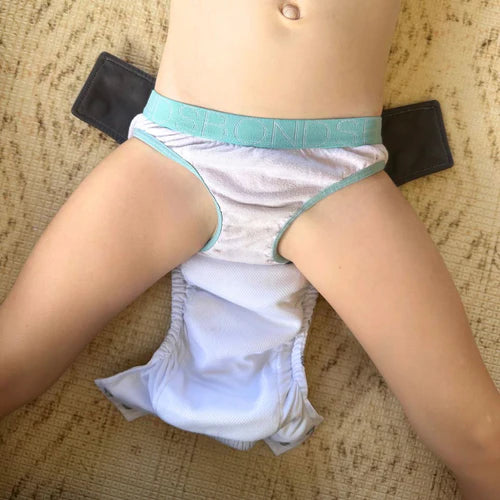
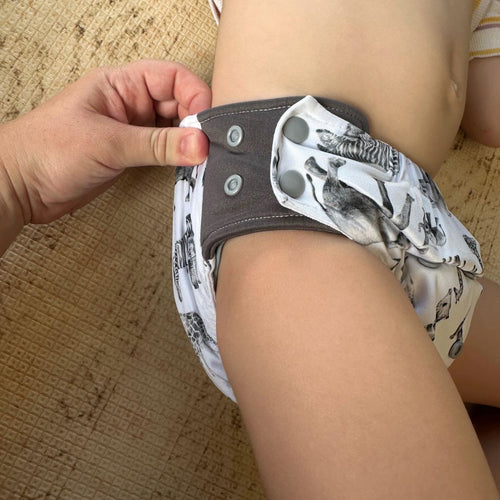
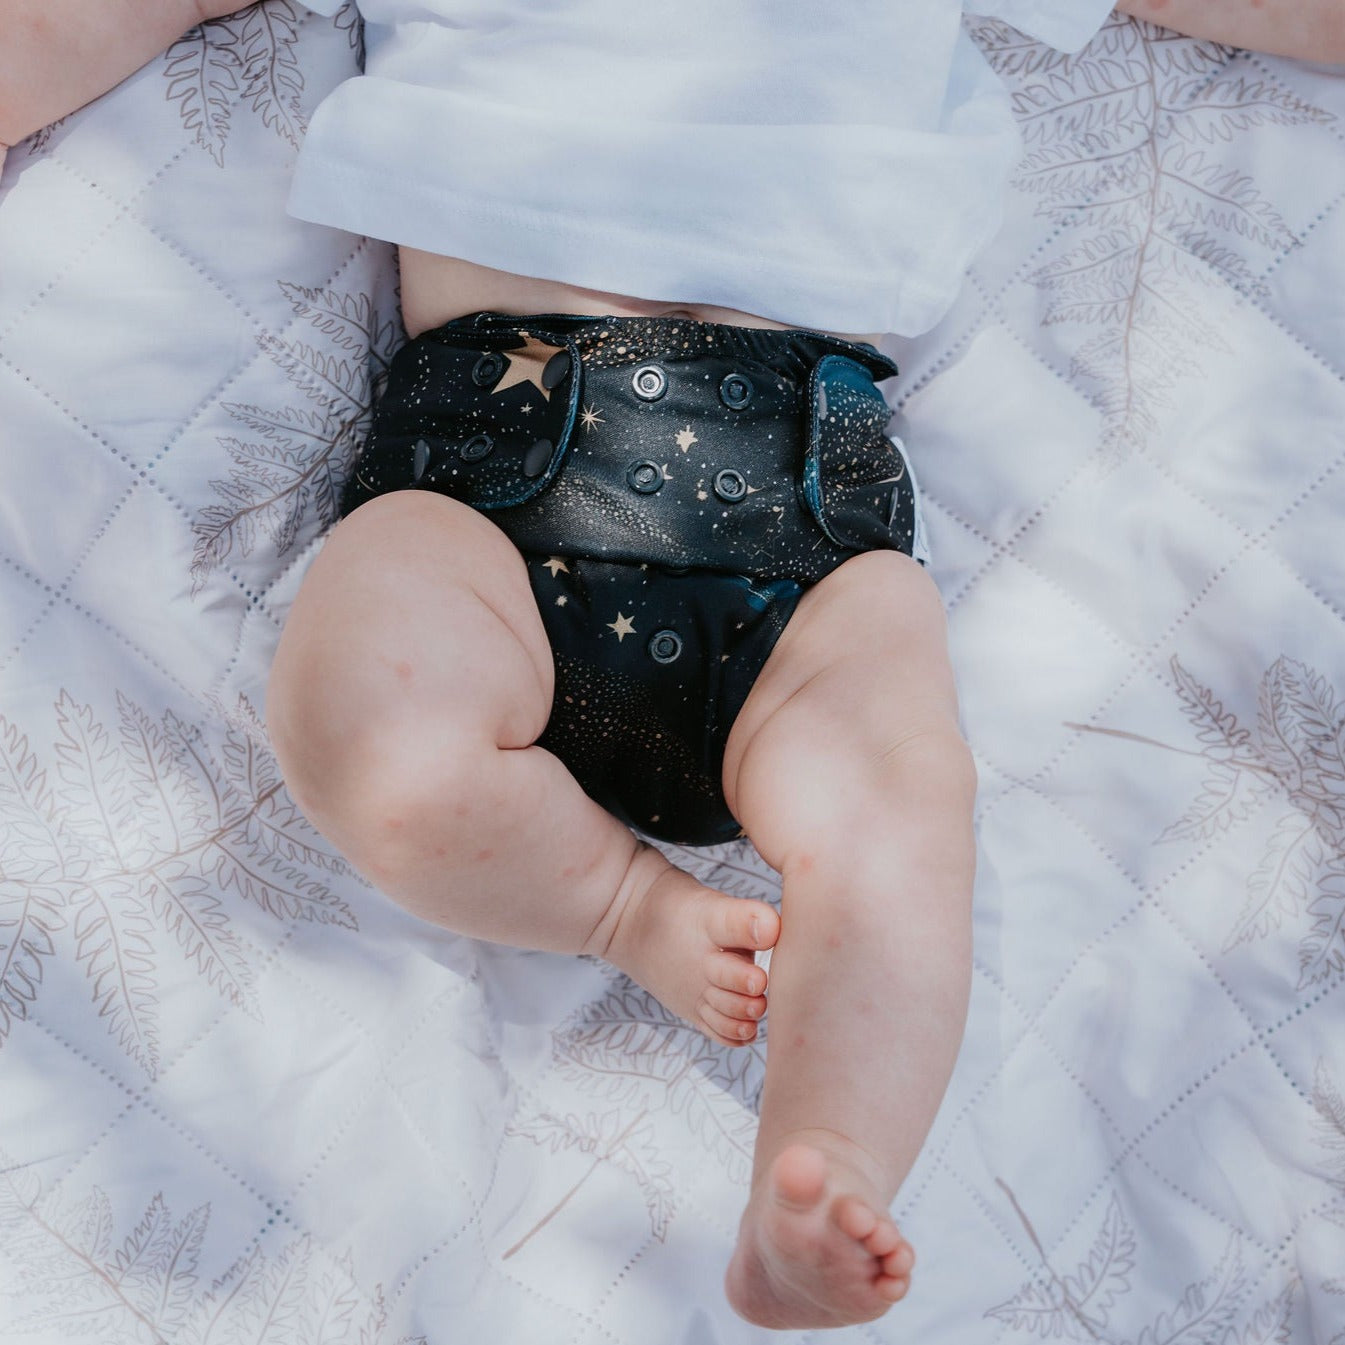
Position the back elastic of the nappy just above your baby's bum crack.
Pull the front of the nappy up through the crotch by pinching the groin as you pull it up, which will tuck the leg elastics into the undie line.
This is called the "taco" method.
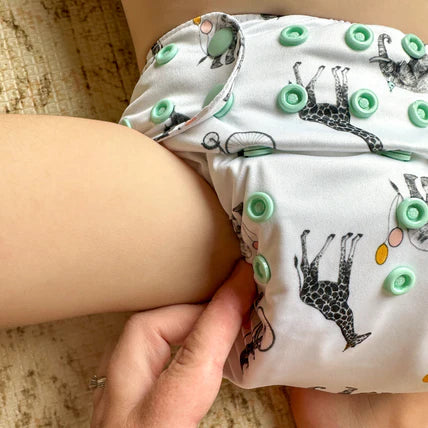
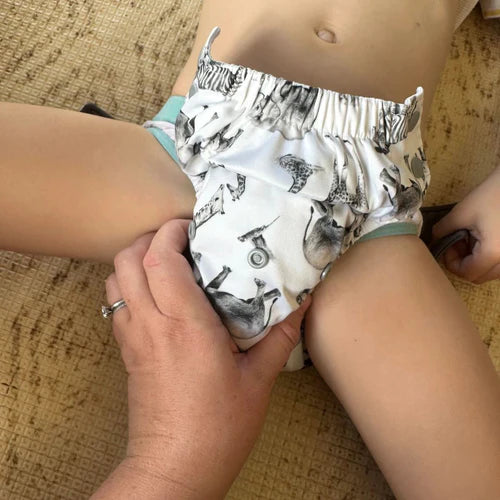
Flatten the front of the nappy to sit across your child's hips, the front of the nappy should sit above the top of the thigh.
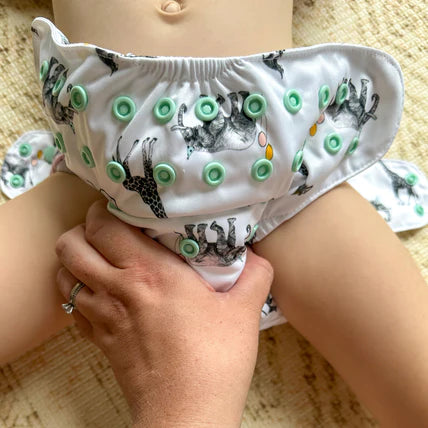
Secure the hip snap to make the leg seal secure. Then secure the waist snaps to where they naturally reach. No need to make it tight and ensure there is a 2 finger gap at the tummy.
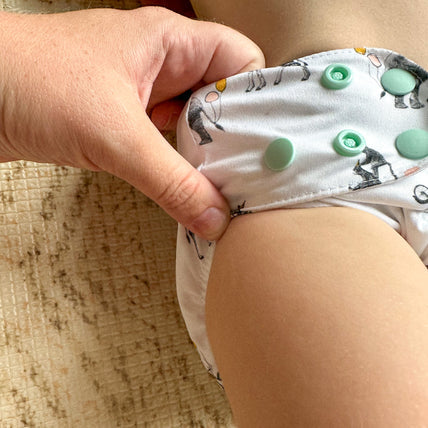
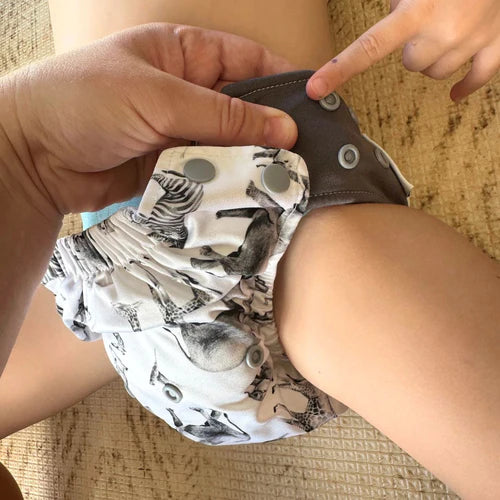
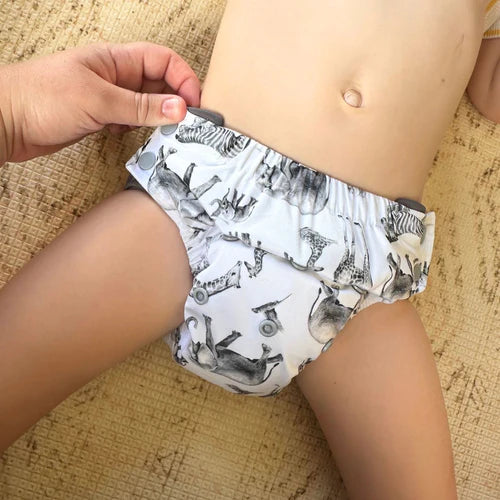
Ensure the fabric in the fold of the rise snaps is tucked facing upwards, this will allow the elastics to seal properly around the thigh, use to fingers two tuck this up as shown.
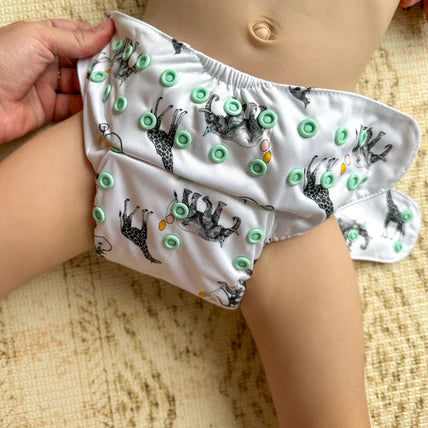
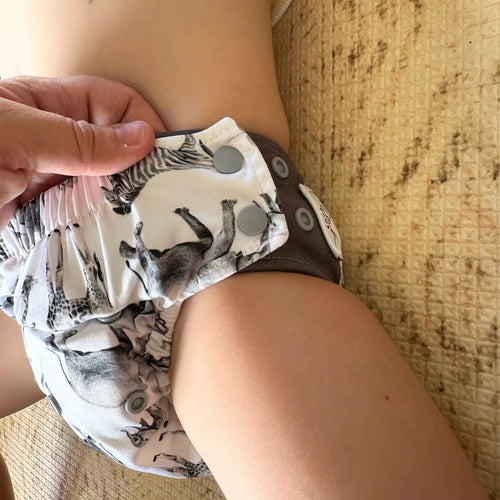
Time to tuck and tidy! Make sure those leg elastics are nice and snug into your baby's groin, and any excess fabric is tucked neatly. This will ensure there is no leaks by creating the best barrier.
Pull up the side of your nappy as shown so the wing is sitting above your child's thigh and isn't cutting across the top of the leg.
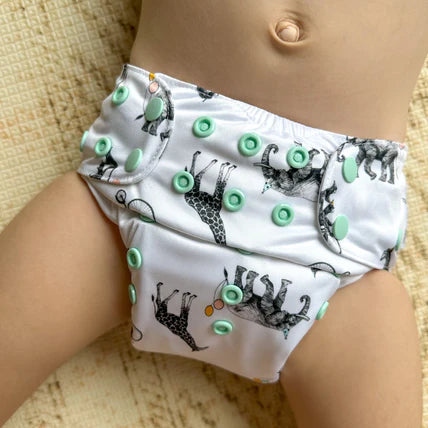
And you are done!
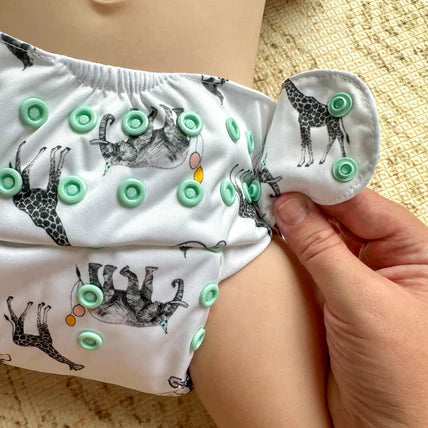
Remember, the snaps in the middle of the nappy do not need to be even, pictured is the waist snaps on uneven settings.
Gremlin (as a snap on)
Position the back elastic of the nappy just above the child’s bum crack with the wings positioned over the top of the thigh.
Pull your nappy up through the crotch by pinching the middle as you pull it up.
This is called the "taco" method.
Bring the side coloured wing up around the top of the thigh to secure.
No need to adjust the snaps on the front of the nappy as these are pre-set.
Secure the snaps so the nappy is comfortable around the waist, ideally you should be able to fit 3 fingers comfortably in the front.
Having it too loose will lead to gaps around the legs and leakage.
Pull up the side of your nappy as shown so the wing is sitting above the child's thigh so it isn't cutting across the top of the leg.
Finished! The nappy should be fitted like the above picture.
No wings sitting out, and elastics all tucked comfortably into the groin.
download pdf fit guides
Need a fit guide for kindy, to send to the grandparents house, or just want one whilst you are mastering the fit?
Our Gremlin nappy can be used as a pull up, or a traditional nappy. Download a guide of how to fit our Gremlin nappy as a side snapping nappy.
The complete starter guide to modern cloth nappies. A comprehensive break down of snap positions and how it all works.


